Hello in this beautiful morning!
I hope you're doing well.
It's my turn to inspire you in our nautical challenge and I hope I'll.
I hope you're doing well.
It's my turn to inspire you in our nautical challenge and I hope I'll.
Let's start with the rules first.
Challenge Guidelines : Make a Card , LO or paper crafted project with the Nautical theme .By Nautical we mean - something concerning navigation in the sea , sailors, maritime, or the sea. Go for elements like anchors , lifebuoys , ships , lighthouses , fishing nets , navigation gear , compass etc.
Dates : 1st - 15th Aug
I prepared pop-up box card. It's still my favourite type of the card, so creating was pure pleasure to me.
In my creation you can see red, white and blue colors and details connected with a sea: seahorse, anchor, boat and shells. There are also small waves inside cut out from the blue-and-white paper.
In my creation you can see red, white and blue colors and details connected with a sea: seahorse, anchor, boat and shells. There are also small waves inside cut out from the blue-and-white paper.


Here are my supplies. One of the reason why I like pop-up box cards is, that I can reuse all small pieces of paper remaining from different projects.

I started with a white cardstock. I cut it to 16 cm x 30 cm and scored at 7, 14, 21, 28 cm. Then I rotated the cardstock and scored it again at 7 cm. This way every square has 7 cm x 7 cm and the scored cardstock looked this way.

Then I cut down scored lines along (stopping in the middle) and prepared six squares (6,5 x 6,5) cm and one bigger rectangle (6,5 x 13,5) cm and decorated outside of the card. I also cut off a small rectangle on the right.

My next step was decoration of the inside part.This part is more visible when your card is finished.
This time I inked each white-and blue patterned square using dark blue pigment ink. I usually decorate it as it's shown here, but you can also add patterned squares to the rest of the white pannels and make your pop-up card even more colourful.
Next, I attached the small rectangle inside with adhesive and prepared two strips of paper and placed them inside of the opened box, near to the edge. They are a base for small waves and nautical embellishments: seahorse, shells and anchor. I added the rest of the chipboards.
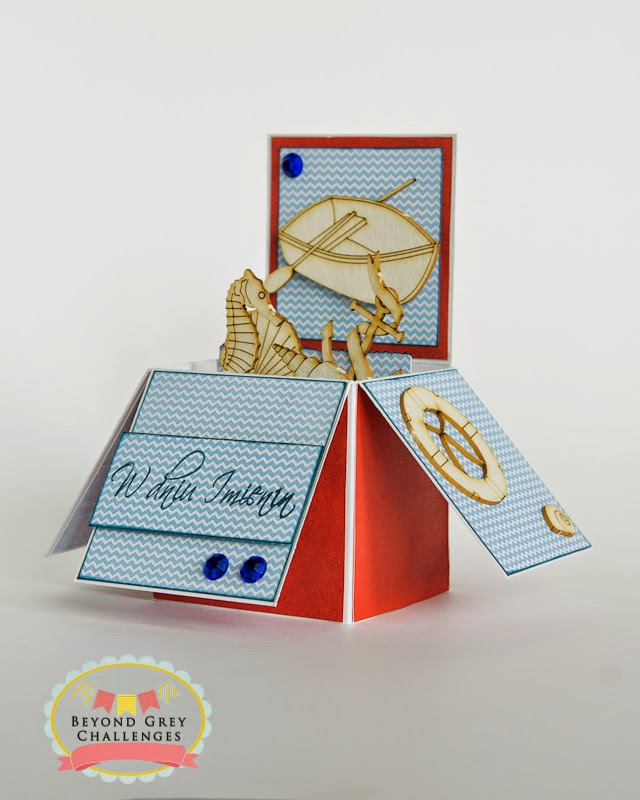
The last step was placing the sentiment on my card. I stamped it on the white-and-blue patterned paper and sticked to my card with 3D foam tape. When it was ready, I finished my card adding dark blue gems.
It is not so difficult, isn't it?
I would like too see your nautical project. You can share it with us HERE.
See you soon!
Aneta


