Hey guys !
Its PJ again ! Did u hear about our latest challenge ?
Oh well ! Jovi kick started the challenge with an amazing quilled clock !
And i decided to do something different this time .
So rather than a card or a LO i decided to go for some
Back Pack Treat Boxes !
And i have a tute to go with that !
Here is what i made

I wanted to go with the theme "Back To School "
So i thought of making these treat boxes to hold candy for kids !
Here is how i made them.

- Start with an A4 card stock. Keep it on your scoring tool like its shown in the above picture.
- Score at 1" , 3.5", 4.5" , 7" and cut at 7 & 1/4th . I have scored the 7 & 1/4th line to show better where to cut. you can just use a pencil to mark that line and trim it.
- Once you are done with the above step you will have a big piece of paper with 4 score lines.
- Cut this paper in half horizontally so you should have 2 final pieces as shown below.

- These two pieces will become one box each.

- Fold on all the scored lines with your bone folder.

- Once one your boxes should look something like they are in the above pictures.

- Before you stick the box make sure you decorate it. So any pattern paper that needs to be stuck or any dry or heat embossing that you need to do , is to be done now.
- I decided to go with some fun and colourful papers from Echo park - Splash.

- Once you have stuck your papers , take another piece of the dimensions as given above. score and cut for making the base of your box. This can be included in the first step itself by modifying the template of the box but that would have wasted a lot of my paper so, i prefer to do it this way.

- At this stage you should have 2 pieces like this.
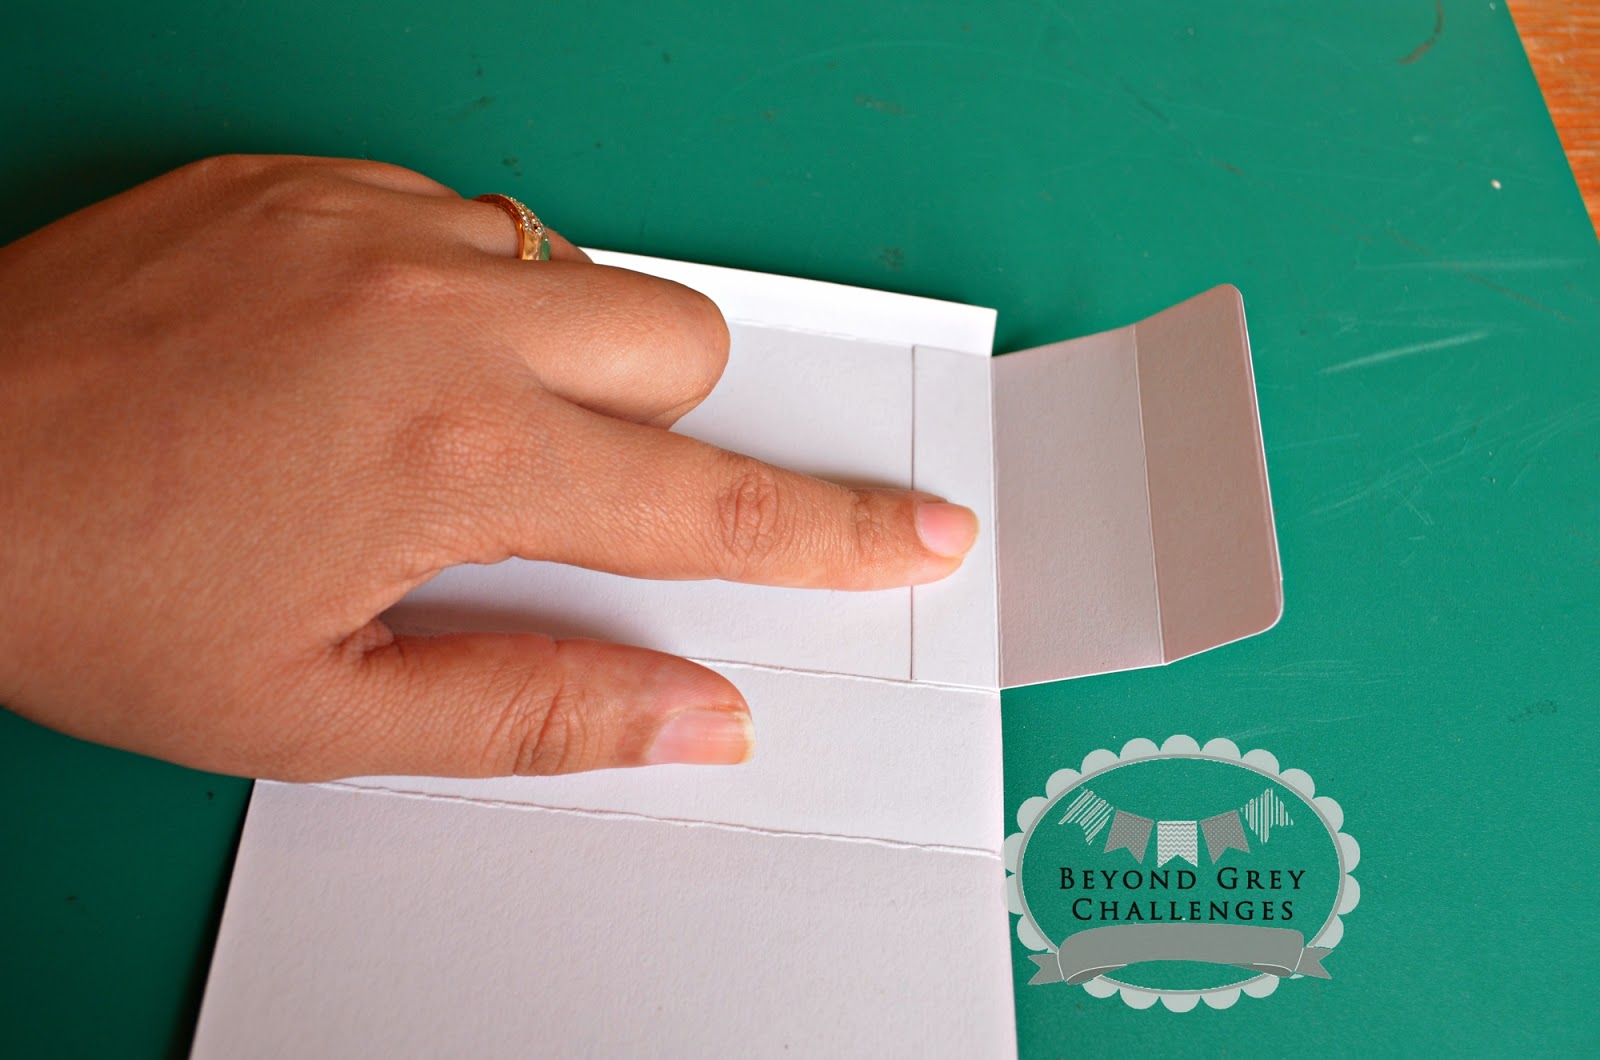
- Now comes the fun part ! putting it all together.
- REMEMBER to glue the 0.5" part of the flap and stick it on the inside of the box at the very end where we have very small scored panel. see the above picture to understand better.

- Now turn over your box to the right side and glue up the small panel in white.
- This will give your box the rectangular frame.

- This is how it should look at this stage.

- Now just glue over the bottom flap as shown above and secure the bottom of your box shut.
- You can keep this not glued so your box can be opened from both sides. But i wanted to fill it with some heavy candy and i didn't want to box to open up from the bottom .

- So that is how my box looks now after the bottom is sealed shut.

- Finally just glue 2 thin pieces of design paper to the back of the back pack so this will be the straps for the bag.
- Also cut a piece of design paper that is 6.75" long and about 2.5" wide.
- Score this paper at 5" & 6" as shown above .
- Now glue the right side of the pattern paper on the smallest panel and stick it to the inside of the box such that it should make a nice top flap as shown in the final pictures.
- Notice the top flaps below.

- And finally embellish the top of your box any way you like.
- I added a big epoxy brad on the upper flap for the box and then added my sentiment banners.

This is how the back should look.
Hope that you liked my tutorial on Back pack boxes .
Do let me know how u liked it (or not !)
So i am concluding this in hopes that you will make something Kidsy !
for our latest challenge !
Link ur entries HERE
Thanks !!


These bags are so cute PJ!! love them!!!
ReplyDeletecutieeesssssssss...kids will love this.
ReplyDeleteLove this Pooja ..These bright and fun bags look so beautiful ..Thank you so much for sharing the step by step tutorial ..Definitely giving this a try !!
ReplyDeleteGreat tutorial, Pooja! I know that it's about school, but colours are connected strongly with summer. :-)
ReplyDeletethis is soo cute n lovely... nice creativity
ReplyDeleteWow! Awesome!! :)
ReplyDeleteCute boxes:)
ReplyDeleteWow these are so cute! Love these adorable boxes..am sure going to try one soon! Thanks for the tutorial!
ReplyDeleteThese are adorable !!
ReplyDeletePoooojaaaaa this is sooo awesome!!!! I soo loved it!! The paper pad that you've used is so cute!! :-*
ReplyDeleteThankyou so much for your comments everyone :) really appriciate it !
ReplyDeleteThese bags are super cute... Lovely tutorial... Surely giving it a try...
ReplyDeleteNew to blogging
Love
Khusboo