Hello again!
I need to say, that I'm over the moon, because we have more and more new followers here! I hope you will stay with us for longer. Feel free to join our challenges any time you want.
It's also great to see how some of you developed yourself! I'm really impressed!
It's also great to see how some of you developed yourself! I'm really impressed!
As it's said, I prepared short tutorial for you. I created an exploding box for my friend's birthday. Actually, I used ready base for it, because I wanted to check, if it's not to weak for this kind of the "card". This base is made of a very thin paper.
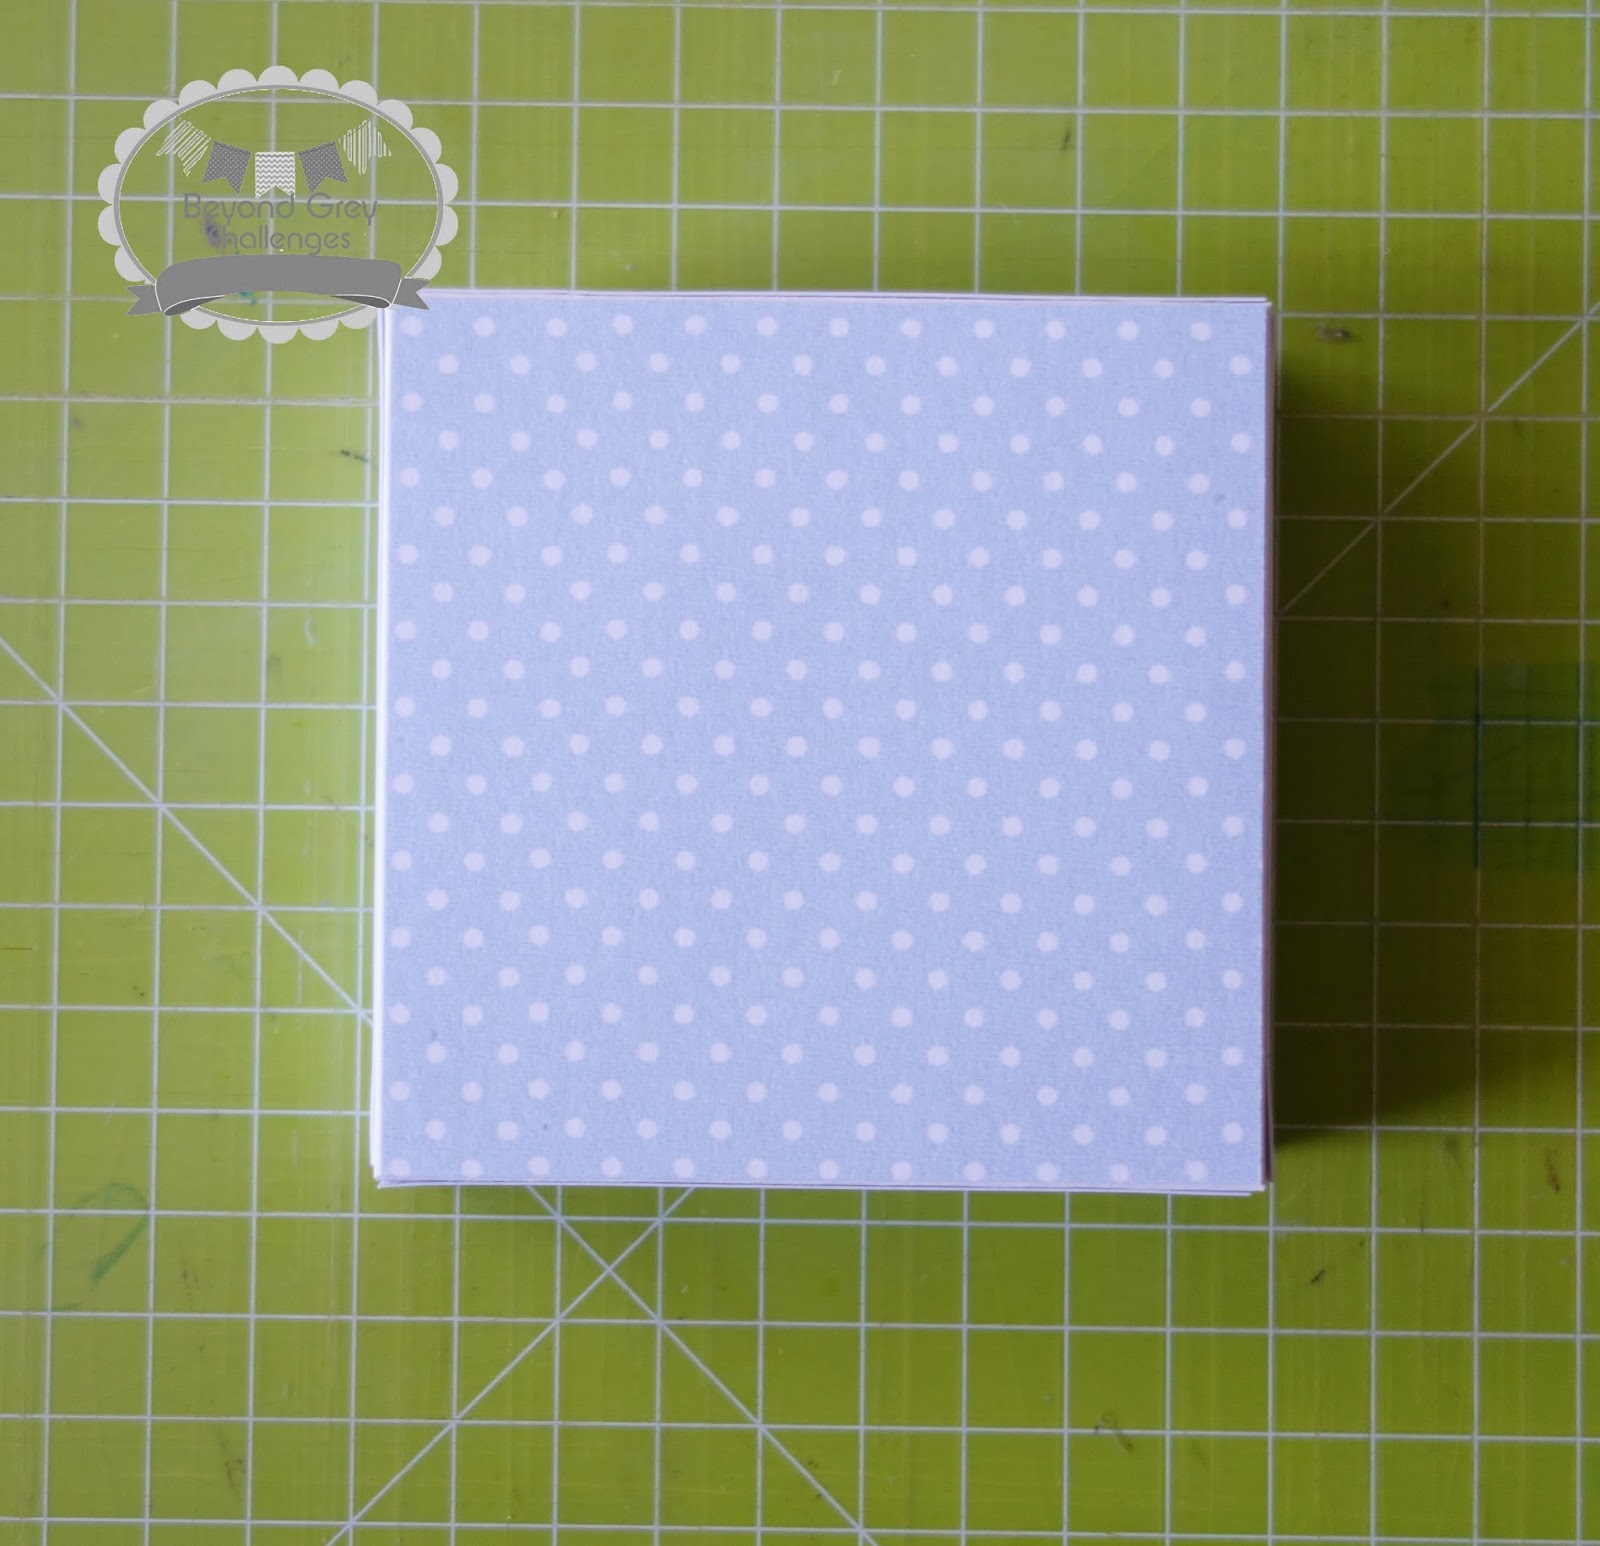
I started with preparing all materials which I needed. Here you can see the base itself.
(I used my very old cutting pad - sorry for that, but it's the best in the world and I don't want to throw it away, not yet:-))
(I used my very old cutting pad - sorry for that, but it's the best in the world and I don't want to throw it away, not yet:-))

I cut papers into sguares and smaller strips.

Next I sticked pieces of paper to the base. I added a few more squarest to make it a little bit stronger.


Then I glued wings of the lid.
Now I started to add layers. Foam tape is perfect, if you want to achieve a 3D effect in your makings. I used it to stick these white circles and one more layer of the lid.

The last step was embellishing. I used chipboards, dies and hand made flowers to do it. I left this empty space for special wishes.

And that's how it looked in the end, when the box was closed.


So it looks like my experiment with the ready basewent well. It's good option, if you don't have to much time to prepare your own base but you want to prepare a special gift for someone.
Sunny greatings from Poland
Aneta


Its Beautiful ! i love how you use pastel colors on your projects,they are very gentle and look lovely !
ReplyDeleteThank you! I think that pastel colours are perfect for summer projects.:-)
DeleteSo pretty Aneta
ReplyDeleteCheers
Dr Sonia
Cards Crafts Kids Projects
Thank you, Dr Sonia!
Delete